Building Flappy Bird on a BARE ATmega32 Microchip (No Arduino!)
As a Software Engineer, I’m used to a life of luxury. If I write inefficient code, a garbage collector cleans up my mess. If I need a feature, I import a massive library. But recently, I wanted to strip away the operating systems, the USB cables, and the development boards. I wanted to touch bare metal.
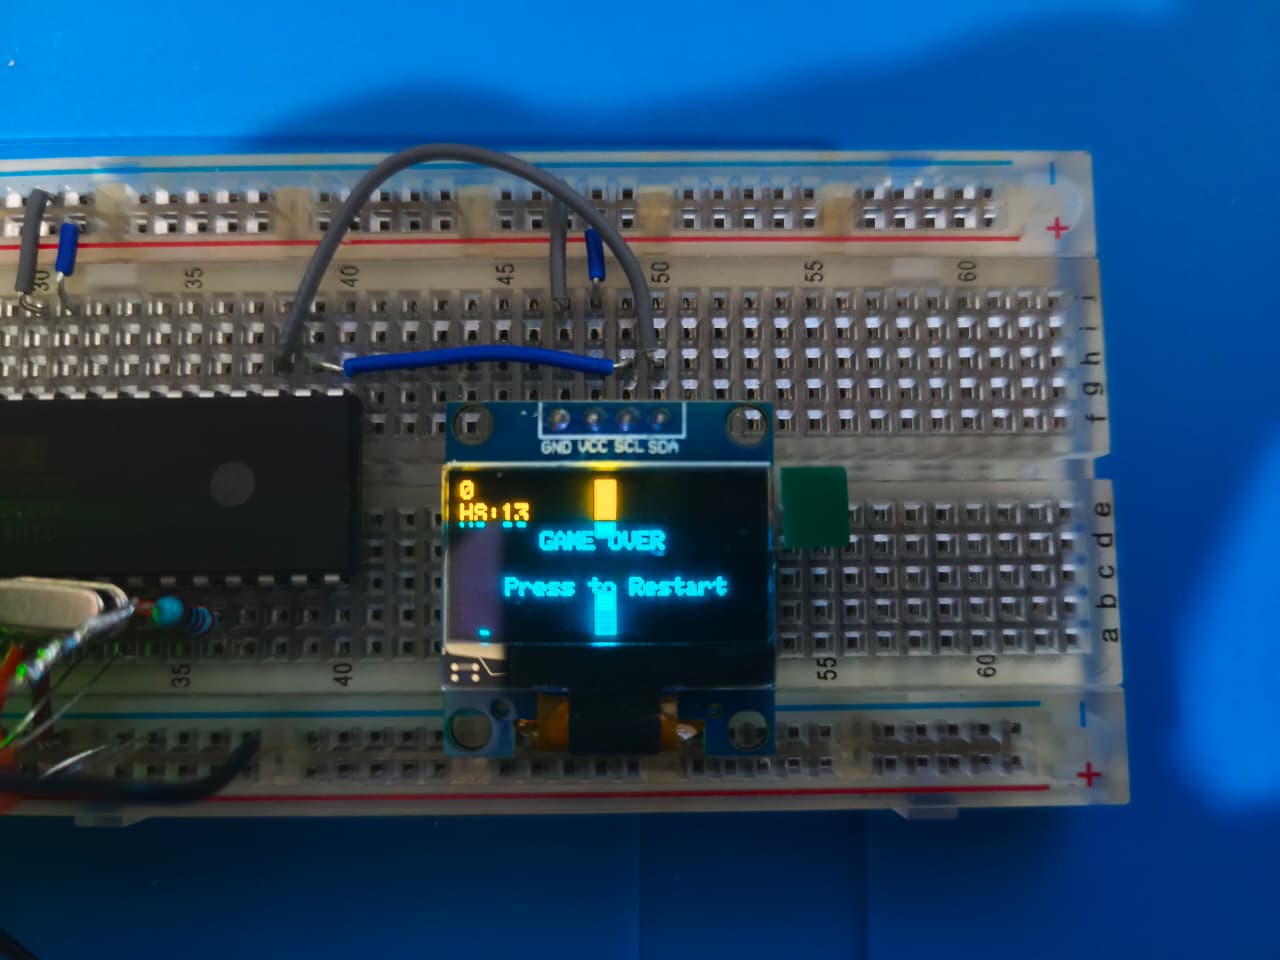
So, I decided to build a completely standalone game console from scratch using a naked, 8-bit ATmega32 microchip. No Arduino. No OS. Just raw silicon, C++, and a breadboard.
Here is exactly how I built a Flappy Bird clone ("Flappy Dot"), wrote a custom physics engine, wired up hardware EEPROM to save high scores, and powered it with a lithium battery.
(Check out the full build video on YouTube below!)
1. The Hardware: Building "Life Support"
When you buy a raw ATmega32 in a DIP-40 package, it is essentially in a coma. To bring it to life, you have to build its life-support system on a breadboard.
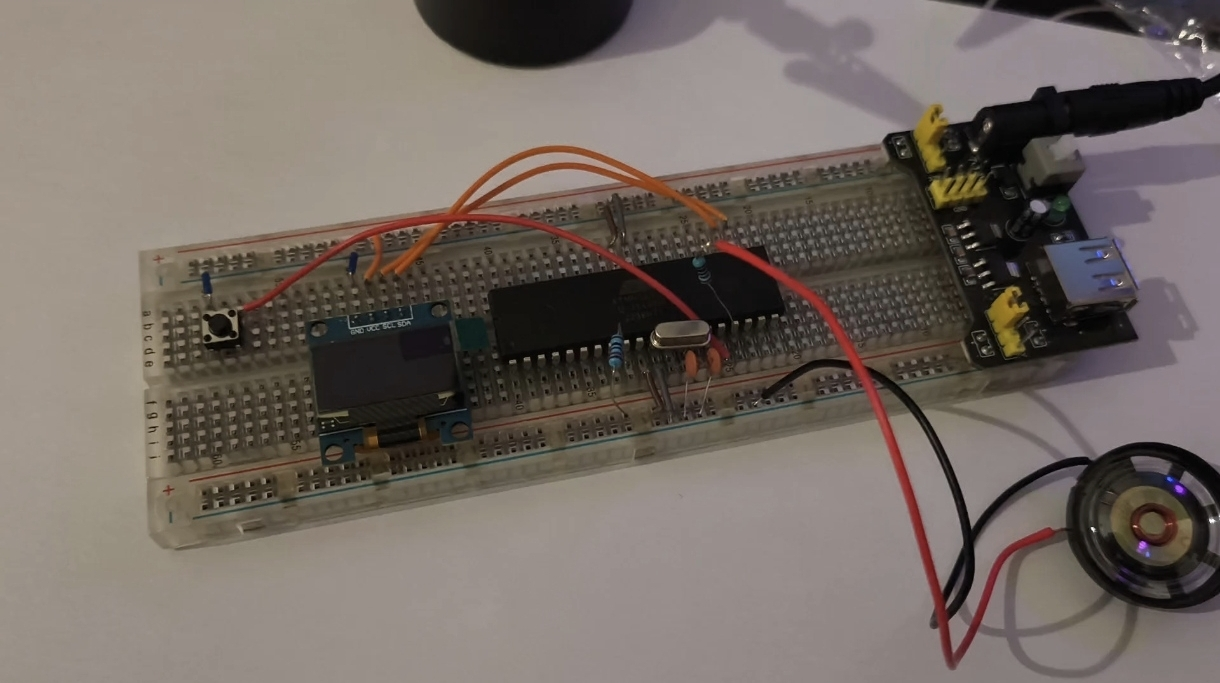
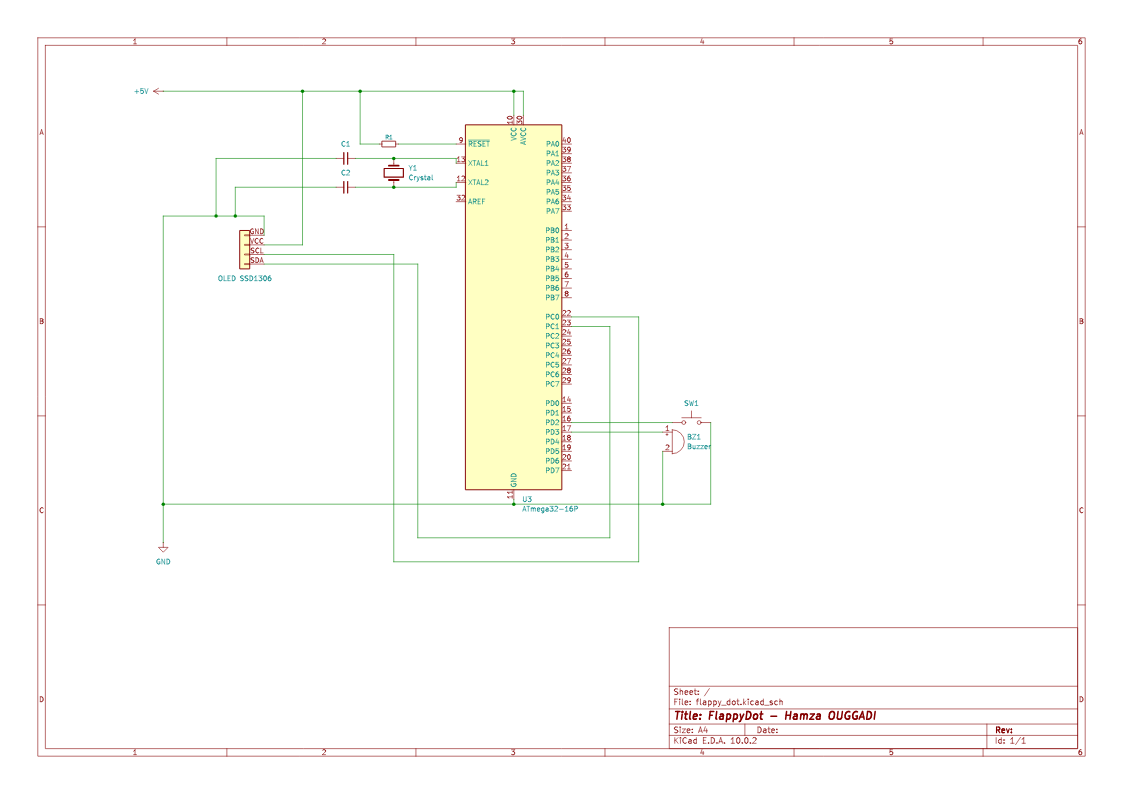
- The Heartbeat (Clock): A microchip has no concept of time. I wired a 16MHz crystal oscillator across Pins 12 and 13 (XTAL1 and XTAL2), along with two 22pF capacitors connected to Ground. This acts as a metronome, telling the CPU to execute a line of C++ code 16 million times a second.
- The Keep-Awake Pin (Reset): Pin 9 is the Reset pin. It is "Active-Low," meaning if the voltage drops to 0V, the chip shuts down. Fun fact: I accidentally wired this to Ground during my build, creating a highly efficient "Permanent Keep-Off Switch." You must tie this to 5V with a 10kΩ resistor to keep the brain awake.
- The Display: I used a 0.96" OLED screen running the I2C protocol. I2C is a hardware networking standard that requires only two pins: SCL (Clock) on Pin 22, and SDA (Data) on Pin 23.
2. Brainwashing the Chip (ISP Programming)
You can't just plug a USB cable into a raw ATmega32. To get my C++ code onto the chip, I had to use an Arduino Uno as an ISP Programmer.
By connecting the Uno to the ATmega32's SPI pins (MISO, MOSI, SCK, and RESET), I bypassed normal serial communication and injected code directly into the silicon.
But before uploading the game, I had to "Burn the Bootloader". In bare-metal programming, we don't actually care about the bootloader code. We click this button in the Arduino IDE to set the Fuse Bits. Fuses are microscopic hardware switches inside the chip. From the factory, the ATmega32 defaults to a sluggish 1MHz internal clock. Burning the fuses tells the hardware to look for our 16MHz crystal, effectively overclocking it by 16x!

3. The Smoke & Mirrors of Game Development
Writing a game loop for a 16MHz microchip with only 2 Kilobytes of RAM requires some serious optimization.
The Treadmill Trick
The biggest secret in 2D side-scrolling games? The player never moves forward.
If I actually moved the dot to the right, it would fly off the tiny 128x64 screen in two seconds. Instead, the dot’s X-coordinate is hardcoded to 10. It only moves up and down.
I spawn the obstacles at the far right edge of the screen (X = 128), and subtract from their X-coordinate every frame. The player is basically running on a treadmill. When an obstacle goes off the left edge, I simply teleport it back to the right side and randomize the gap height. This allows me to create an infinite level using almost zero RAM!
C++ Physics & Bounding Boxes
To detect if the bird hits a pipe, I used classic AABB (Axis-Aligned Bounding Box) collision detection. Even though the bird is drawn as a circle, the math treats it as a square to save CPU cycles:
// If dot is horizontally inside the obstacle...
if ((10 + dotRadius > obstacleX) && (10 - dotRadius < obstacleX + obstacleWidth)) {
  // And vertically OUTSIDE the safe gap...
  if ((dotY - dotRadius < gapY - gapSize/2) || (dotY + dotRadius > gapY + gapSize/2)) {
    gameOver = true; // Smashed into a pipe!
  }
}
4. Hardware Memory: Saving the High Score
Because the ATmega32 runs the game in SRAM, the current score vanishes the microsecond you unplug the battery. To save the high score, I utilized the EEPROM (Electrically Erasable Programmable Read-Only Memory).
EEPROM survives power loss, but it has a physical catch: Hardware Wear. You can only write to an EEPROM sector about 100,000 times before the silicon literally burns out. If I saved the score inside the main game loop running at 30 FPS, I would destroy the microchip in under an hour.
To prevent this, the game only ever evaluates and writes to the EEPROM on the exact frame the player dies:
#include <EEPROM.h>
int eepromAddress = 0;

void setHighscore() {
  if (score > highscore) {
    highscore = score;
    // .put() is smart. It only writes if the value has actually changed!
    EEPROM.put(eepromAddress, highscore);
  }
}
5. Going Standalone (The Handheld Console)
To sever the final cord to my computer, I powered the entire breadboard using an 18650 Lithium Battery and a TP4056 Charging Board.
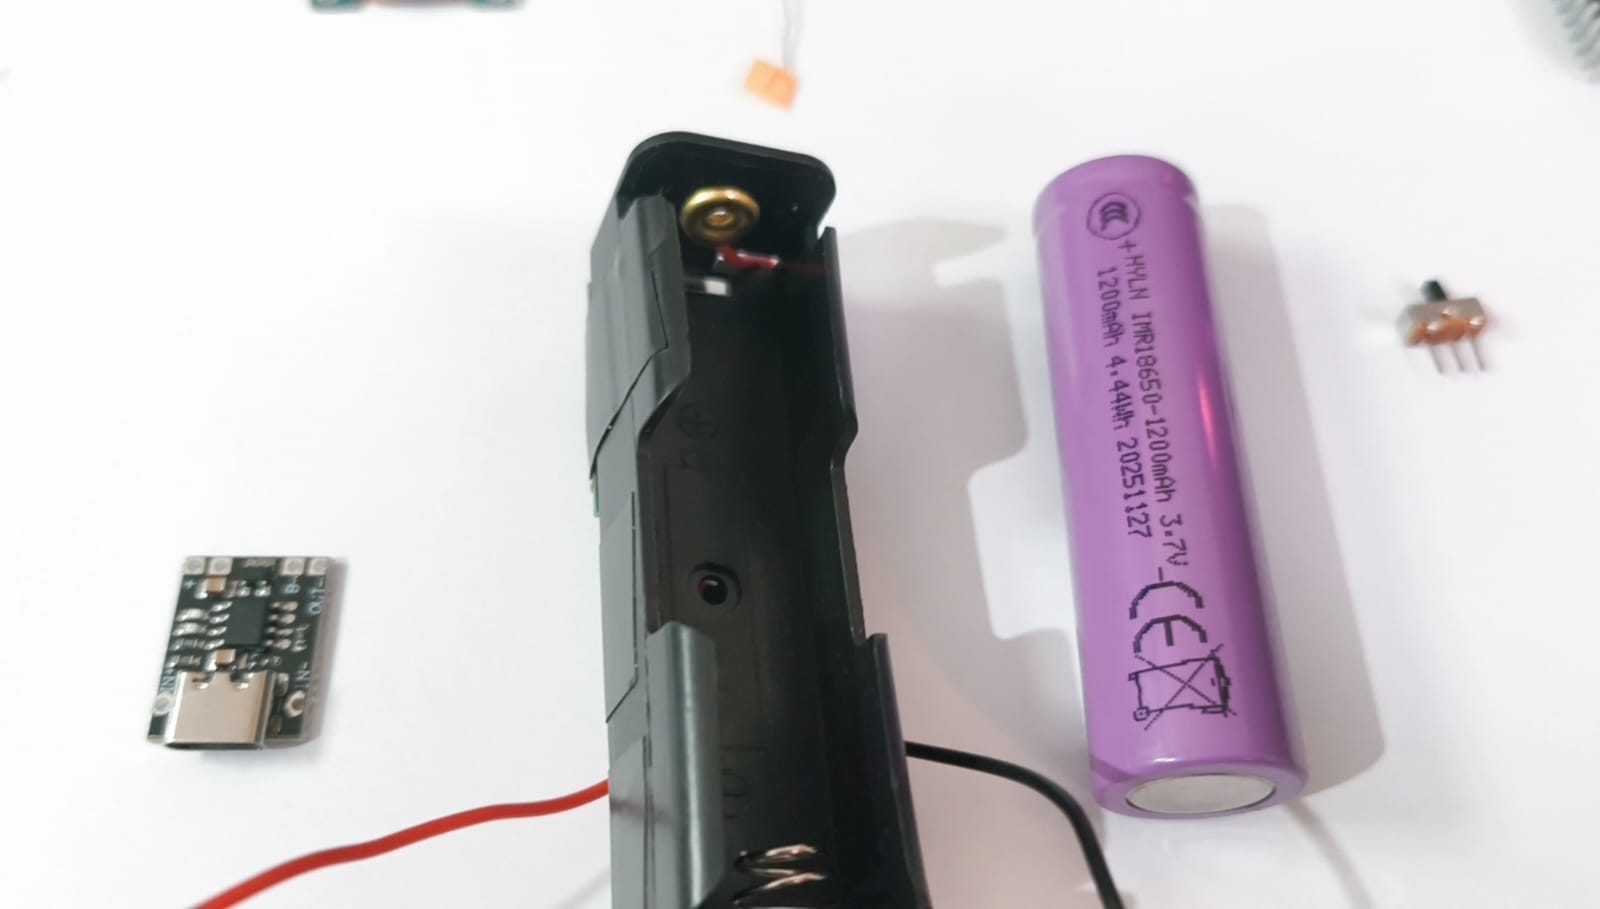
There is an engineering quirk here: The ATmega32 is officially rated to require 4.5V to run cleanly at 16MHz. A fully charged lithium battery outputs 4.2V, and drops to ~3.2V as it dies.
Will it work? Officially, no. Unofficially? Yes. AVR chips are famously over-engineered, and my Flappy Dot game ran flawlessly directly off the 3.7V battery current. The TP4056 ensures the battery safely charges via USB-C and cuts the power if the voltage drops too low.
The Final Result
Going from writing high-level Java code to manually routing 16MHz clock signals through a breadboard gave me a profound new respect for how computers actually work.
It’s janky, the wires are a mess, and the screen is smaller than a postage stamp... but I built every single millimeter of it.
Want to build it yourself?
You can find the full C++ source code, MightyCore configuration instructions, and the KiCad schematic on my GitHub:
🔗 OddestDev GitHub - Flappy Dot Repository
If you enjoyed this project, make sure to subscribe to the OddestDev YouTube Channel as I plan to design a custom PCB for this soon and take my hardware engineering to the next level!